|
Do you have Affiliates you wish to pay out more often than others? The latest version of NATS includes customizable payout periods Admins can set up for your Affiliates. This new feature allows Admins to set up payout periods based on multiple days of the week or days of the month. The setup of payment periods can be set to include a payout delay so payouts will not be stored until the set number of intervals after the payment is built.
 The "Payout Periods" tab is located in the Payments admin Payout configurations allow Admins to specify when NATS will build payments. To set up a new payout period, navigate to the Payments Admin and click on the "Payout Periods" tab. To add a new payout period, fill out the text box at the bottom of the table labeled "New Payout Period Description" and then click add. Once the new payout period is created, set the payout configuration, delay, and whether the payout period is enabled or not. NATS sets the default payout period to be "1,16", which means NATS will build payments on the 1st and 16th of the month. Payouts can be configured in one of four ways: once a month, multiple times a month, weekly, or every number of days. Once a month is set by setting the configuration to a value from One (1) to Twenty Eight (28). Multiple times a month is set by setting the days you wish NATS to build payments separated by a comma where "1,11,21" will build payments on the First, Eleventh, and Twenty First. Weekly is set as a "w0" through "w6" where the "0" represents Sunday and "6" represents Saturday. Setting the payouts to build every number of days is achieved by setting a value of "d" and the number of days NATS should build payments, "d5" would build payments every 5 days and can be set with possible values of One (1) to Ninety Nine (99). The payout delay, the number of periods the payments are delayed, is used to provide time to account for refunds in Affiliates' payouts. Lastly, setting the "Enabled" checkbox allows Admins to assign that payout period to an affiliate.
Once the payout periods are set, Admins can choose which payout period is to be used by default when Affiliates sign up. Admins may also set specific Affiliates to use a payout by either setting the list of enabled Affiliates in the Payments Admin( ) or the Affiliate's payout period in the Affiliates Admin( ) or the Affiliate's payout period in the Affiliates Admin( ). ).
|
 ) will take the Admin to the main page of the affiliate area, known as the Dashboard,
 ) will direct the Admin to the My Account page, where they can view and adjust details of the affiliate account. Lastly, Affiliate Stats (
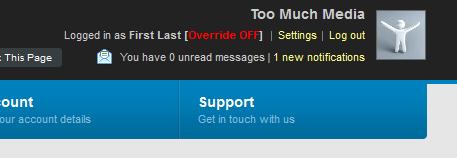
 ) will direct the Admin to the Affiliates Stats page where the Admin can view different breakdowns of an Affiliate's statistics. Once overridden as an Affiliate, Admins at any point can remove the override by clicking the ""Override Off" button next to the Affiliate's name in the upper-right-hand corner of the page.
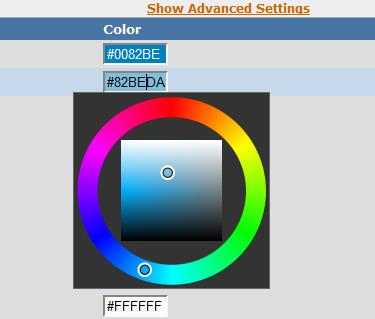
 ). In this page, Admins have the ability to set the color for a variety of items to be used on either your join page or your available skin. In the Skins and Templates Admin, more advanced items can be shown by clicking the "Show Advanced Settings" link. What is displayed in the text box is the HTML hexadecimal code corresponding to the color selected. To provide ease of use, once an Admin clicks on the text box, a pop up will show up allowing them to select the color they would like to use for the given CSS item.